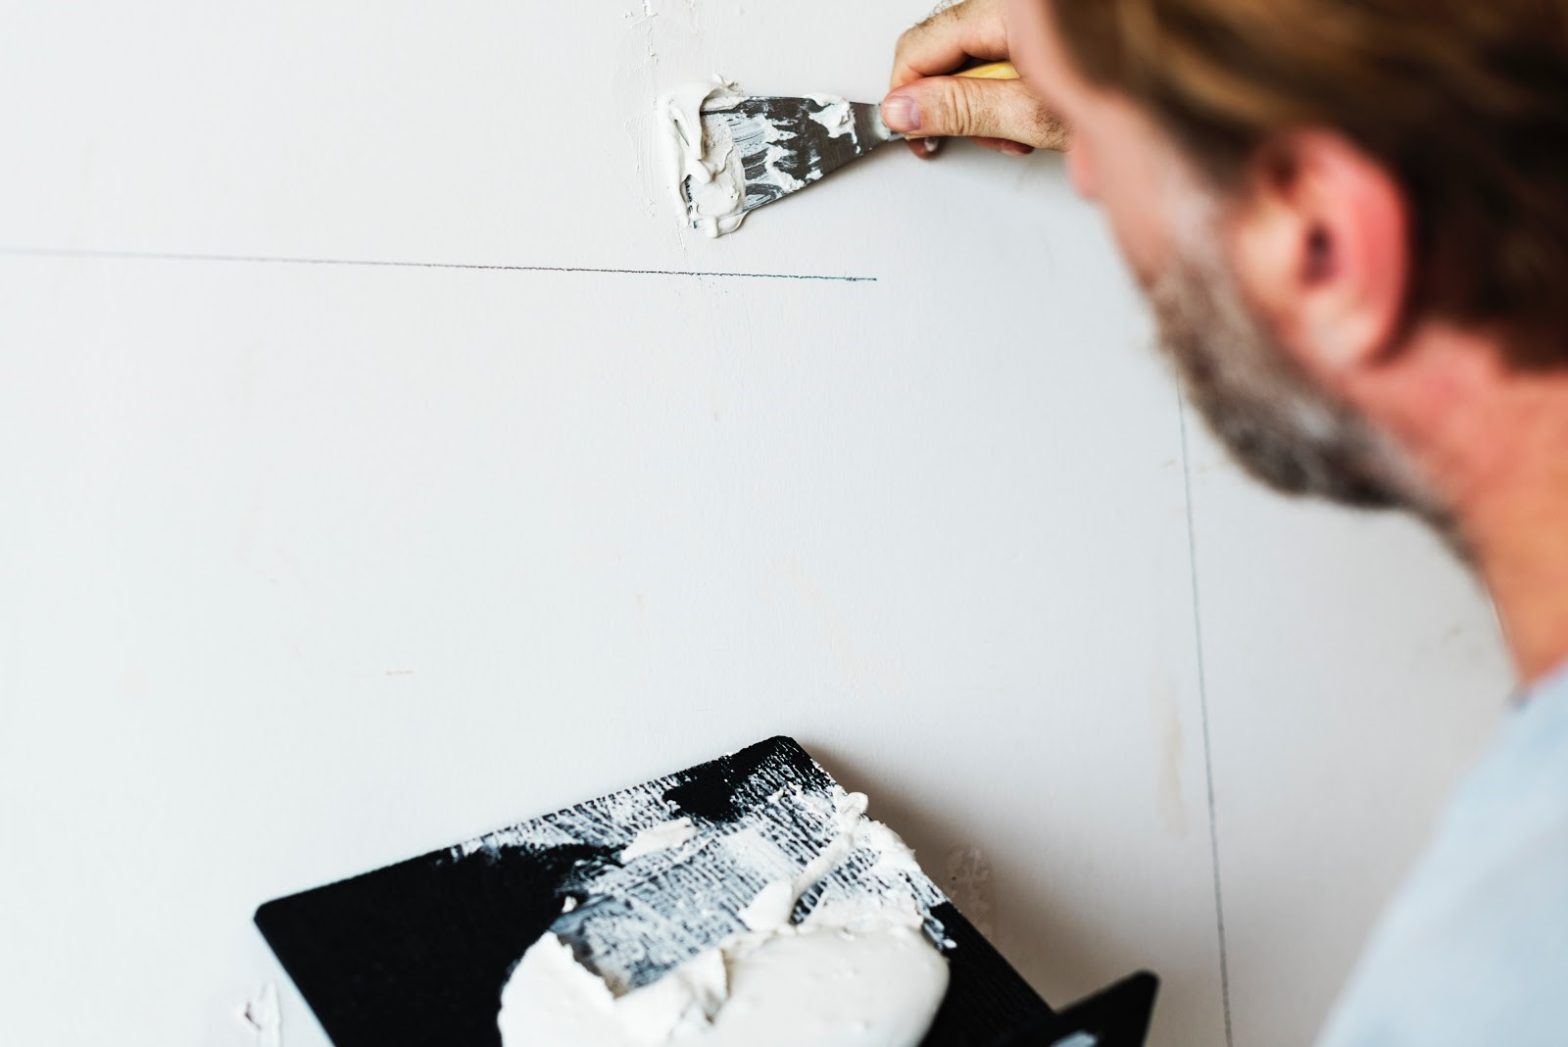
Some jobs aren’t meant for DIY. If you need to patch a roof, repair a foundation, or tackle another major repair, calling a pro is a no-brainer. But other home repairs are actually quite simple to do yourself. If you want to save money on home maintenance (and hone your handyman skills!), these are five repairs you should learn to DIY.
Patching Drywall
Small holes in drywall are an easy fix. In addition to a self-adhesive drywall patch, you’ll need a drywall knife, joint compound, and paint to match the surrounding wall. With your supplies ready, follow these steps:
- Affix the self-adhesive patch over the hole.
- Using your drywall knife, apply joint compound. Blend the edges to create a seamless transition to the surrounding wall.
- Let the compound dry and apply a second coat if needed.
- Sand the patched area smooth, then repaint. For perfect results, you may need to paint the entire wall.
For bigger drywall holes, take a look at this Lowe’s guide on repairing drywall.
Unfreezing an AC Unit
Air conditioners always seem to break on the hottest day of the year. Before you call for emergency repairs, turn off the unit and check if the vent filter is dirty or clogged.
- If the filter is dirty, replace the filter, let the system defrost, and turn it back on to see if the problem is solved. If this works, make a mental note to always have extra air filters on hand. If you can’t find a filter that’s the right size, you may need to order a custom filter. You can even join a subscription service to make sure you at least always have one spare.
- If the filter isn’t dirty, keep the air conditioner off, turn on the blower to defrost the coils (don’t try to remove ice by hand!), then move to calling a pro. A search for “AC service near me” can help you quickly find some local options.
Sealing Drafty Windows
Drafty windows drive up your utility bills, but sealing them is so cheap and easy, there’s no reason to let the problem persist! Give yourself a few hours to accomplish these steps:
- Use a putty knife to remove old caulk from the exterior, then wipe the perimeter to create a clean, dry surface.
- Apply exterior-grade silicone sealant around the window perimeter.
- Remove old weatherstripping, again cleaning and drying the surface when you’re done.
- Apply new weatherstripping. You have a few types to choose from.
If your second story windows need sealing and you’re not comfortable on a ladder, do the first floor yourself and call a pro for the upstairs.
Re-Caulking a Tub or Shower
Damaged caulk around your tub or shower is a recipe for mold, but with a few dollars and some spare time, you can get your tub looking shiny and new. Once armed with your caulk removal tool, edger, caulking gun, and caulk, you’re ready to get started.
- Remove old caulking with the removal tool, using a razor blade for difficult sections.
- Remove debris with a cloth and rubbing alcohol, then let the surface dry.
- Protect surrounding areas with painter’s tape, then apply caulk in sections using the caulk gun.
- Flatten caulk with the edging tool.
- Remove the tape, smooth the edges, and let dry.
These steps cover the basics, but if you want really great results, follow the tips shown here.
Stopping a Leaky Faucet
Whether you want to save water or just want to stop listening to the constant drip from your kitchen sink, fixing a leaky faucet is a worthy weekend project. This is the process for repairing a ball-type faucet:
- Shut off the water supply using the valve under the sink, then turn on the faucet to drain residual water.
- Use a screwdriver or Allen wrench to remove the screw cover, then remove the screw underneath to loosen the handle.
- Remove the handle from the sink and tighten the adjusting ring with needle-nose pliers.
If tightening the adjusting ring doesn’t fix the drip, you’ll need to take a few more steps. Don’t worry, it’s still DIY-able!
Doing your own home repairs can be intimidating, especially if you don’t consider yourself a handy person. But if you want to save money, it’s a skill worth learning! As long as you stick to repairs that won’t cause permanent damage if they go wrong, there’s nothing to fear with DIY home repairs.
Image via Pexels

